Planning Barres on Window and Mirror Walls Without Compromising the Room
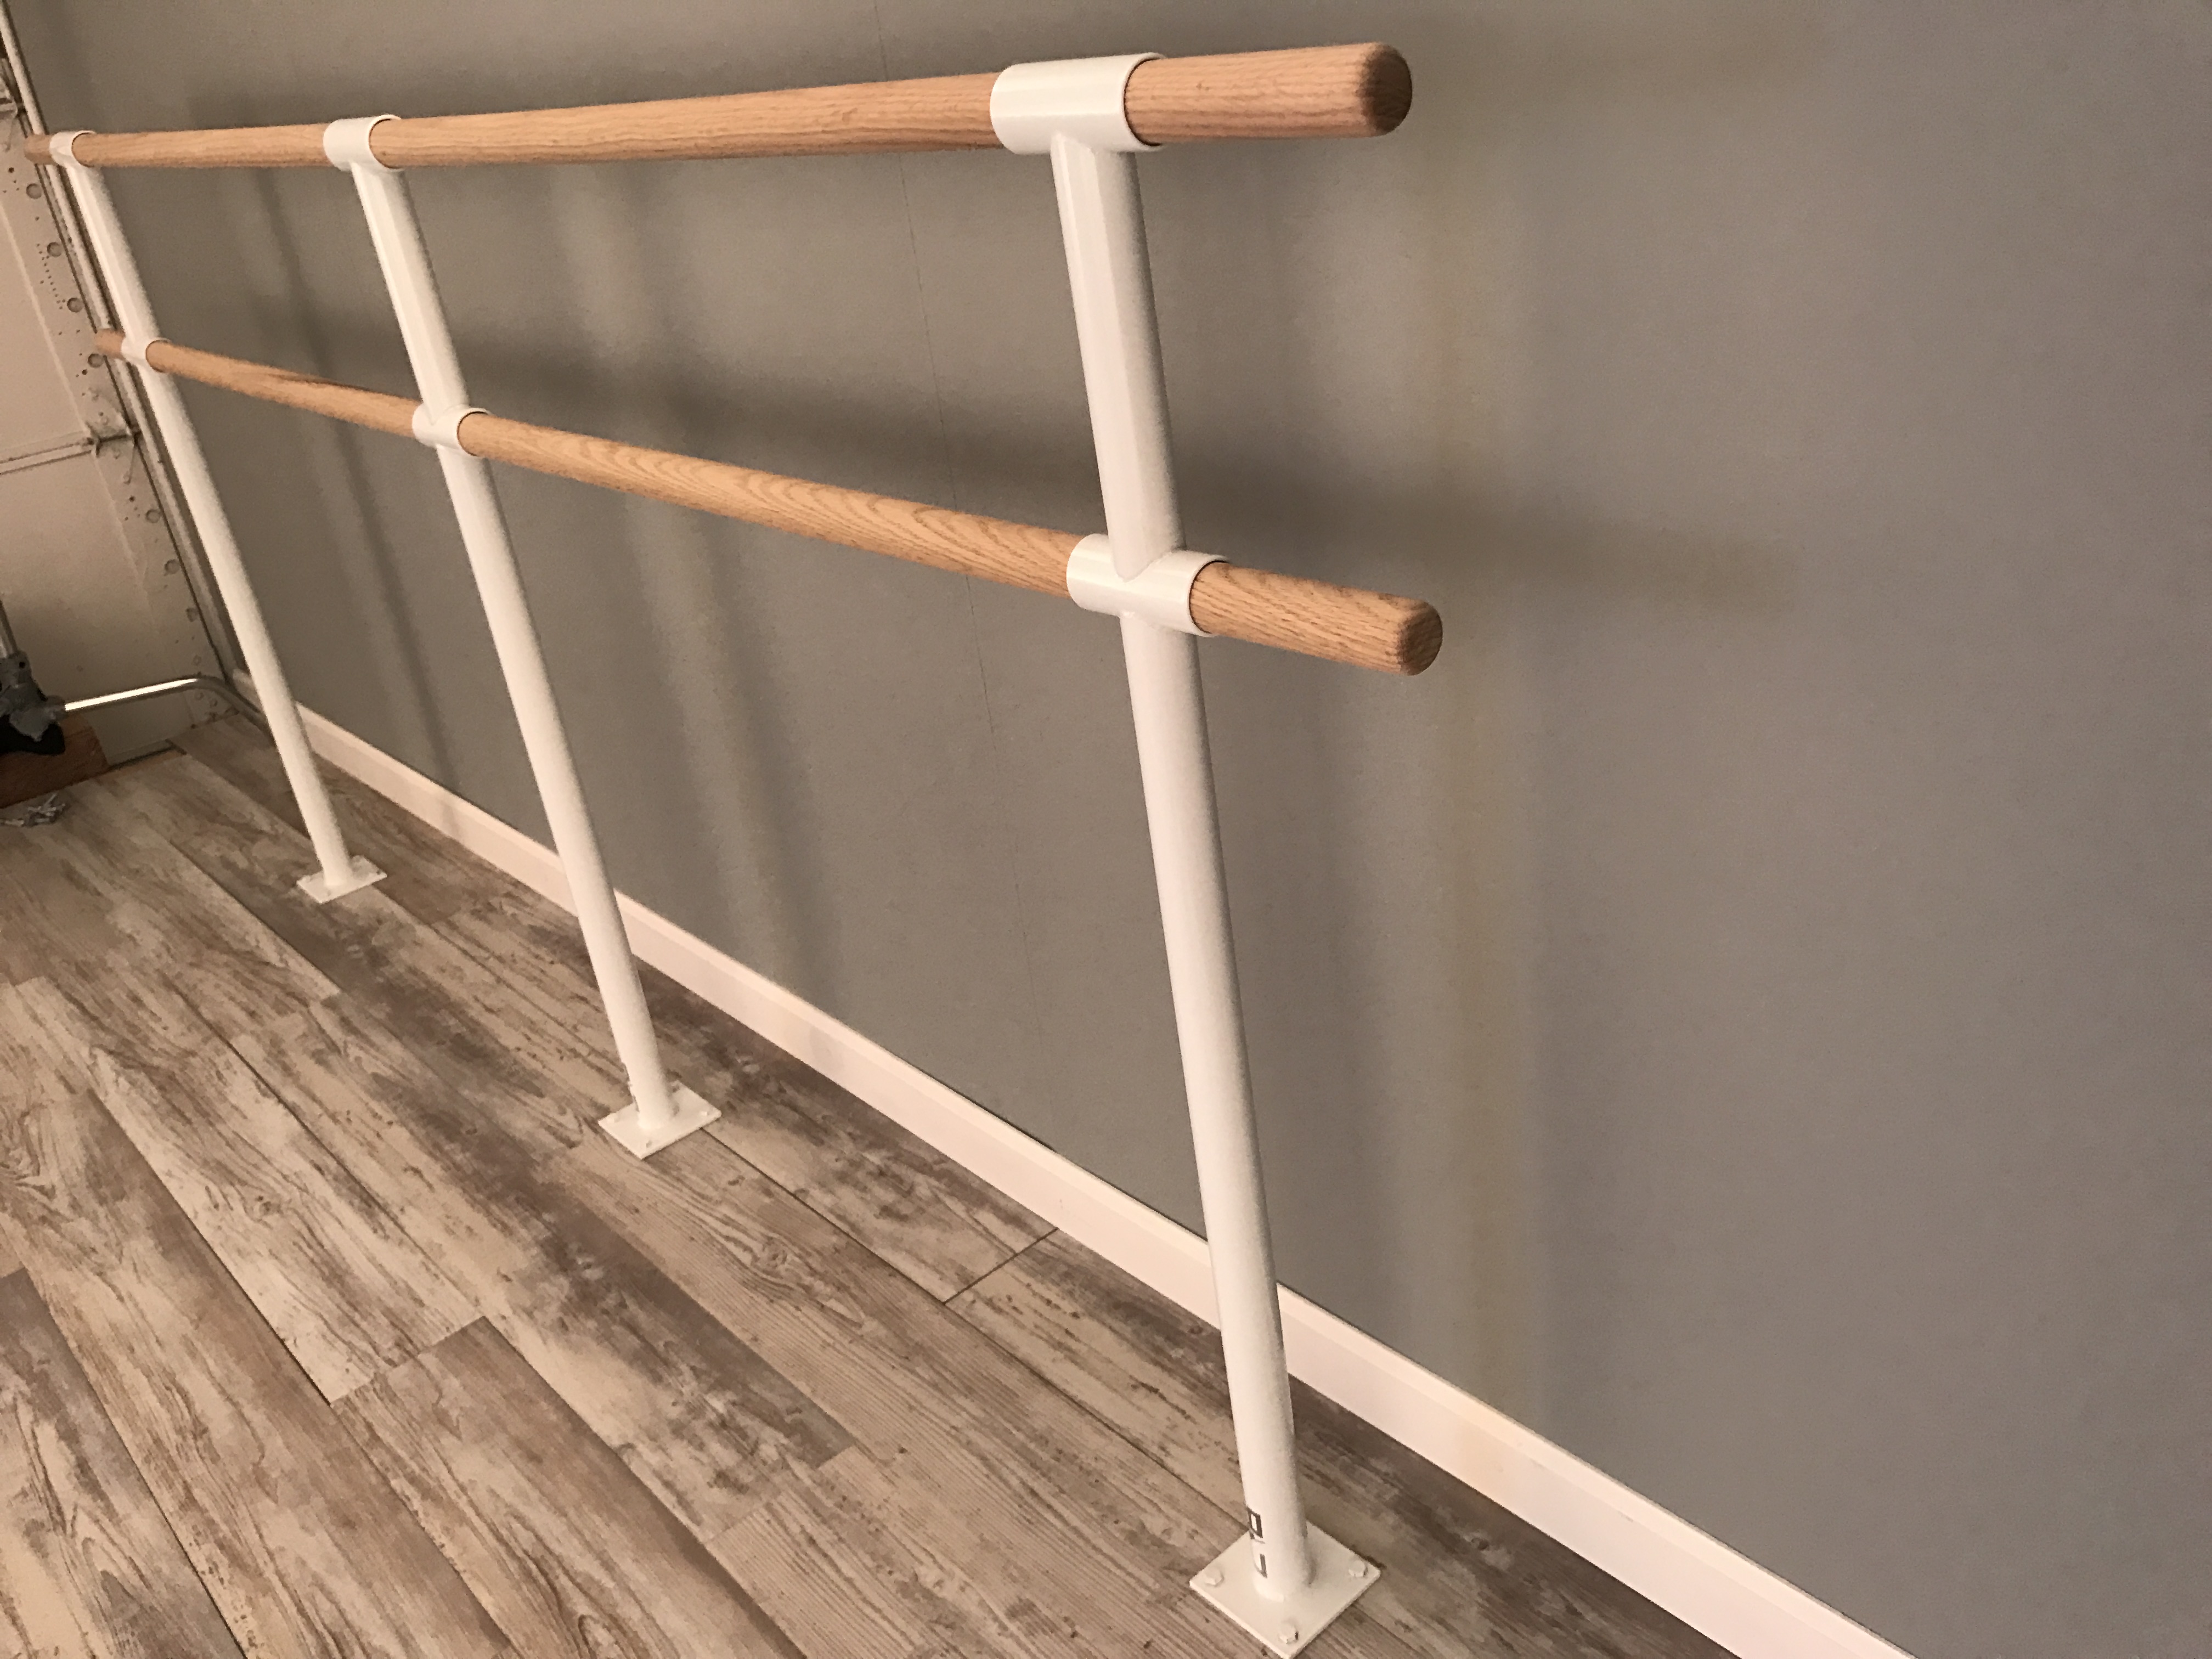
Window walls and mirror walls are two of the most desirable features in a studio. They are also two of the biggest reasons barre planning gets complicated.
If the team waits too long, the barre package has to fight the most important surfaces in the room. The result can be interrupted mirrors, awkward posts, poor bracket locations, or a system that looks like it was solved in the field.
For most serious buyers, the question is not whether they need a ballet barre. The question is which type of ballet barre best fits the room: a wall mounted ballet barre, a floor mounted ballet barre, a portable ballet barre, or a more custom commercial layout. That is where Custom Barres becomes useful. The product can follow the architecture, the users, and the business model instead of forcing the project to compromise around a generic kit.
The Commercial Decision
The smartest path is to decide what the wall must preserve before choosing the mount type.
- Mirror-first rooms: If uninterrupted mirrors are essential, floor mounted ballet barre systems may protect the visual wall.
- Window-first rooms: Glazing can limit wall anchoring and make floor mounted or portable systems more practical.
- Partial walls: Short wall segments may support custom wall mounted runs if bracket spacing and backing are resolved.
- Design intent: The barre should reinforce the room's best feature rather than fighting it.
What a Serious Buyer Should Confirm Before Pricing
At the stage where a buyer is searching for barres on window and mirror walls, the conversation should move beyond generic equipment. This is usually the point where terms like wall mounted ballet barre, portable ballet barre, commercial ballet barre, and Custom Barres become useful because they keep the discussion tied to the real room, real users, and real installation conditions.
What to Specify Before Anyone Prices the Project
A strong ballet barre specification is not just a product name. It should translate the room, users, installation conditions, and finish direction into details a contractor or procurement team can act on.
- Glass limits: Confirm where brackets can and cannot attach.
- Mirror edges: Coordinate seams, edges, and bottom heights with barre placement.
- Base conditions: Review base trim, sill heights, floor finishes, and cleaning needs.
- User clearance: Keep enough depth in front of mirrors and windows for safe movement.
Why This Matters for Revenue, Operations, and Owner Confidence
For studio owners and project teams, this is ultimately a revenue and brand decision. The right barre plan affects class capacity, perceived quality, member retention, instructor confidence, and whether the room looks premium enough to support premium pricing.
Where Projects Usually Lose Quality
Most problems show up when the barre package is treated as a late accessory instead of a permanent architectural element. These are the details to protect early.
- Assuming wall mounting: A wall full of glass or mirrors may not be a wall the barre can use.
- Adding posts too late: Floor mounted systems should be laid out intentionally, not dropped into leftover space.
- Blocking views: A barre should not undermine the visual reason the window wall exists.
- No coordination between trades: Mirror installers, flooring teams, and barre installers need aligned dimensions.
How Custom Barres Fits This Use Case
Custom Barres is strongest when the room needs more than an off-the-shelf barre system. We build custom ballet barres for the actual length, mount type, wood species, bracket style, and finish direction of the project. That means the specification can support the way the room will really be used rather than settling for whatever standard size happens to be available.
- Mount flexibility: Custom Barres can support wall mounted, floor mounted, and portable strategies for difficult walls.
- Custom barre length: Barres can stop and start around architectural features cleanly.
- Premium finish: The barre can complement glazing and mirrors instead of looking utilitarian.
- Planning support: The Architect Portal helps teams compare approaches before surfaces are finalized.
Recommended Next Steps
The strongest next step is to keep the product conversation attached to the room itself: who uses it, how often, what the teaching wall needs to do, and what level of finish the client expects. That is how better projects protect both quality and margin.
- Identify which walls must remain visually uninterrupted.
- Coordinate mirror and glazing dimensions before quoting the barre.
- Use floor mounted systems where wall mounted brackets would compromise the room.
- Review circulation and cleaning around any posts or base plates.
For larger rooms, multi-room facilities, or projects with architects and contractors involved, start with the Custom Barres Architect Portal. For pricing direction, use the quote tool so the specification and budget move together.