How to Install a Floor-Mounted Ballet Barre: Step-by-Step Guide
What You Will Need
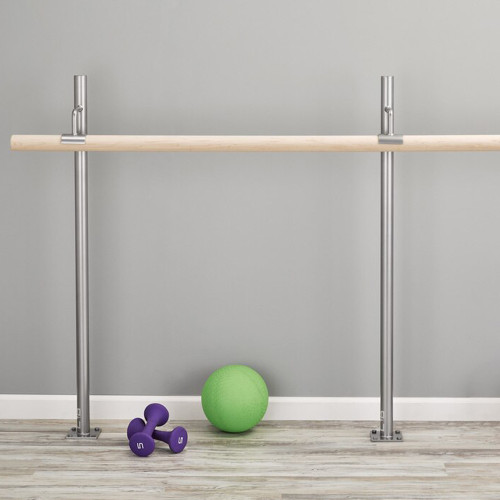
- Floor-mounted barre kit — base plate, vertical post, rail, and hardware
- Hammer drill with masonry bit (for concrete) or standard drill (for wood subfloor)
- Concrete anchors or structural lag screws — included with your Custom Barres kit
- 4-foot level
- Tape measure and pencil
- Socket wrench or adjustable wrench
- Safety glasses
Step 1: Plan Your Post Locations
Lay out the full barre run on the floor before drilling anything. Mark where each base plate will sit, keeping posts spaced no more than 6 feet apart for wood rails and no more than 8 feet apart for steel. End posts should sit so the rail overhangs no more than 12 inches past the last base plate.
If installing a double-sided island barre in the center of a room, use a chalk line to confirm all posts are perfectly in line before drilling a single hole.
Step 2: Check What Is Below the Floor
For concrete slab floors — the most common in commercial studios — you can anchor anywhere. For wood subfloor over a crawlspace, locate joists before drilling. Anchoring into a joist gives dramatically more holding power than anchoring into the subfloor panel alone.
Step 3: Drill the Anchor Holes
Concrete floors: Use a hammer drill with a masonry bit sized to match your anchor diameter. Drill to depth (typically 2.5–3 inches). Clear dust with a blow bulb before inserting the anchor — dust prevents proper expansion and dramatically reduces holding strength.
Wood subfloor: Use a standard twist bit slightly smaller than your lag screw diameter. Pre-drilling prevents splitting and gives you better torque control.
Step 4: Set the Base Plates
Place the base plate over the drilled holes and insert the anchors or lag screws. Hand-tighten first, then check that the plate is flat and square before fully torquing. For wedge anchors in concrete: insert, set the nut, then strike the top with a hammer to expand the anchor before tightening the nut.
Step 5: Attach the Vertical Post
Thread or bolt the vertical post onto the base plate. Hold a level against the post and check plumb in two directions — front-to-back and side-to-side. Most Custom Barres floor-mount posts have slight adjustability at the base connection to dial in plumb before final tightening.
Step 6: Mount the Rail
Set the rail into the saddle brackets on each post. For closed saddle brackets, tighten the cap bolts evenly — alternate sides rather than fully tightening one side first. Use a level across the full rail length to confirm it is horizontal before final tightening.
Step 7: Load Test Before Use
Apply firm downward and lateral pressure at every post location. Any movement or creak indicates a loose anchor — correct it now. Re-check all connections 30 days after installation. After that, a properly installed floor-mount barre is maintenance-free for years.
Special Situations
- Polished concrete: Check level across your base plate locations before drilling — you may need to shim one side at a low spot.
- Floating floors (LVP, laminate): The anchor must pass through the floating layer into the structural subfloor or concrete below. Use a longer bit and anchor rated for the total depth.
- Marley over concrete: Cut a clean hole in the Marley at each base plate location. The plate sits on the concrete; the Marley butts cleanly up to it.
- Radiant heat floors: Know where your heating lines run before drilling. Consult as-built drawings or use a thermal camera — striking a radiant tube is an expensive mistake.
Have a question mid-install? Contact our team — we are a phone call away and happy to walk through your specific floor type and kit configuration.