7 Common Ballet Barre Installation Mistakes (And How to Avoid Them)
1. Mounting into Drywall Without a Stud
The single most dangerous mistake. Drywall alone cannot support the lateral and downward load a dancer applies to a barre. Even toggle anchors rated for 50 lbs can fail under repeated dynamic loading. Every bracket must hit a stud or a structural backing board anchored to studs. Full stop.
2. Wrong Height
Many first-time installers eyeball the height or pick an arbitrary number like 42". The right height is the user's hip height — specifically, the top of the iliac crest (hip bone). Survey your users or measure yourself before marking the wall. Fixing height after installation means filling holes and re-drilling.
3. Not Pre-Drilling
Driving lag screws directly into a stud without a pilot hole can split the wood — especially near the stud edge. Always pre-drill with a bit slightly smaller than your fastener's root diameter.
4. Uneven Bracket Height
If brackets aren't at the exact same height, the rail curves slightly — sometimes visible, always felt. Use a long level (4-foot or longer) spanning across bracket locations. Mark all bracket heights from a single level reference line before drilling anything.
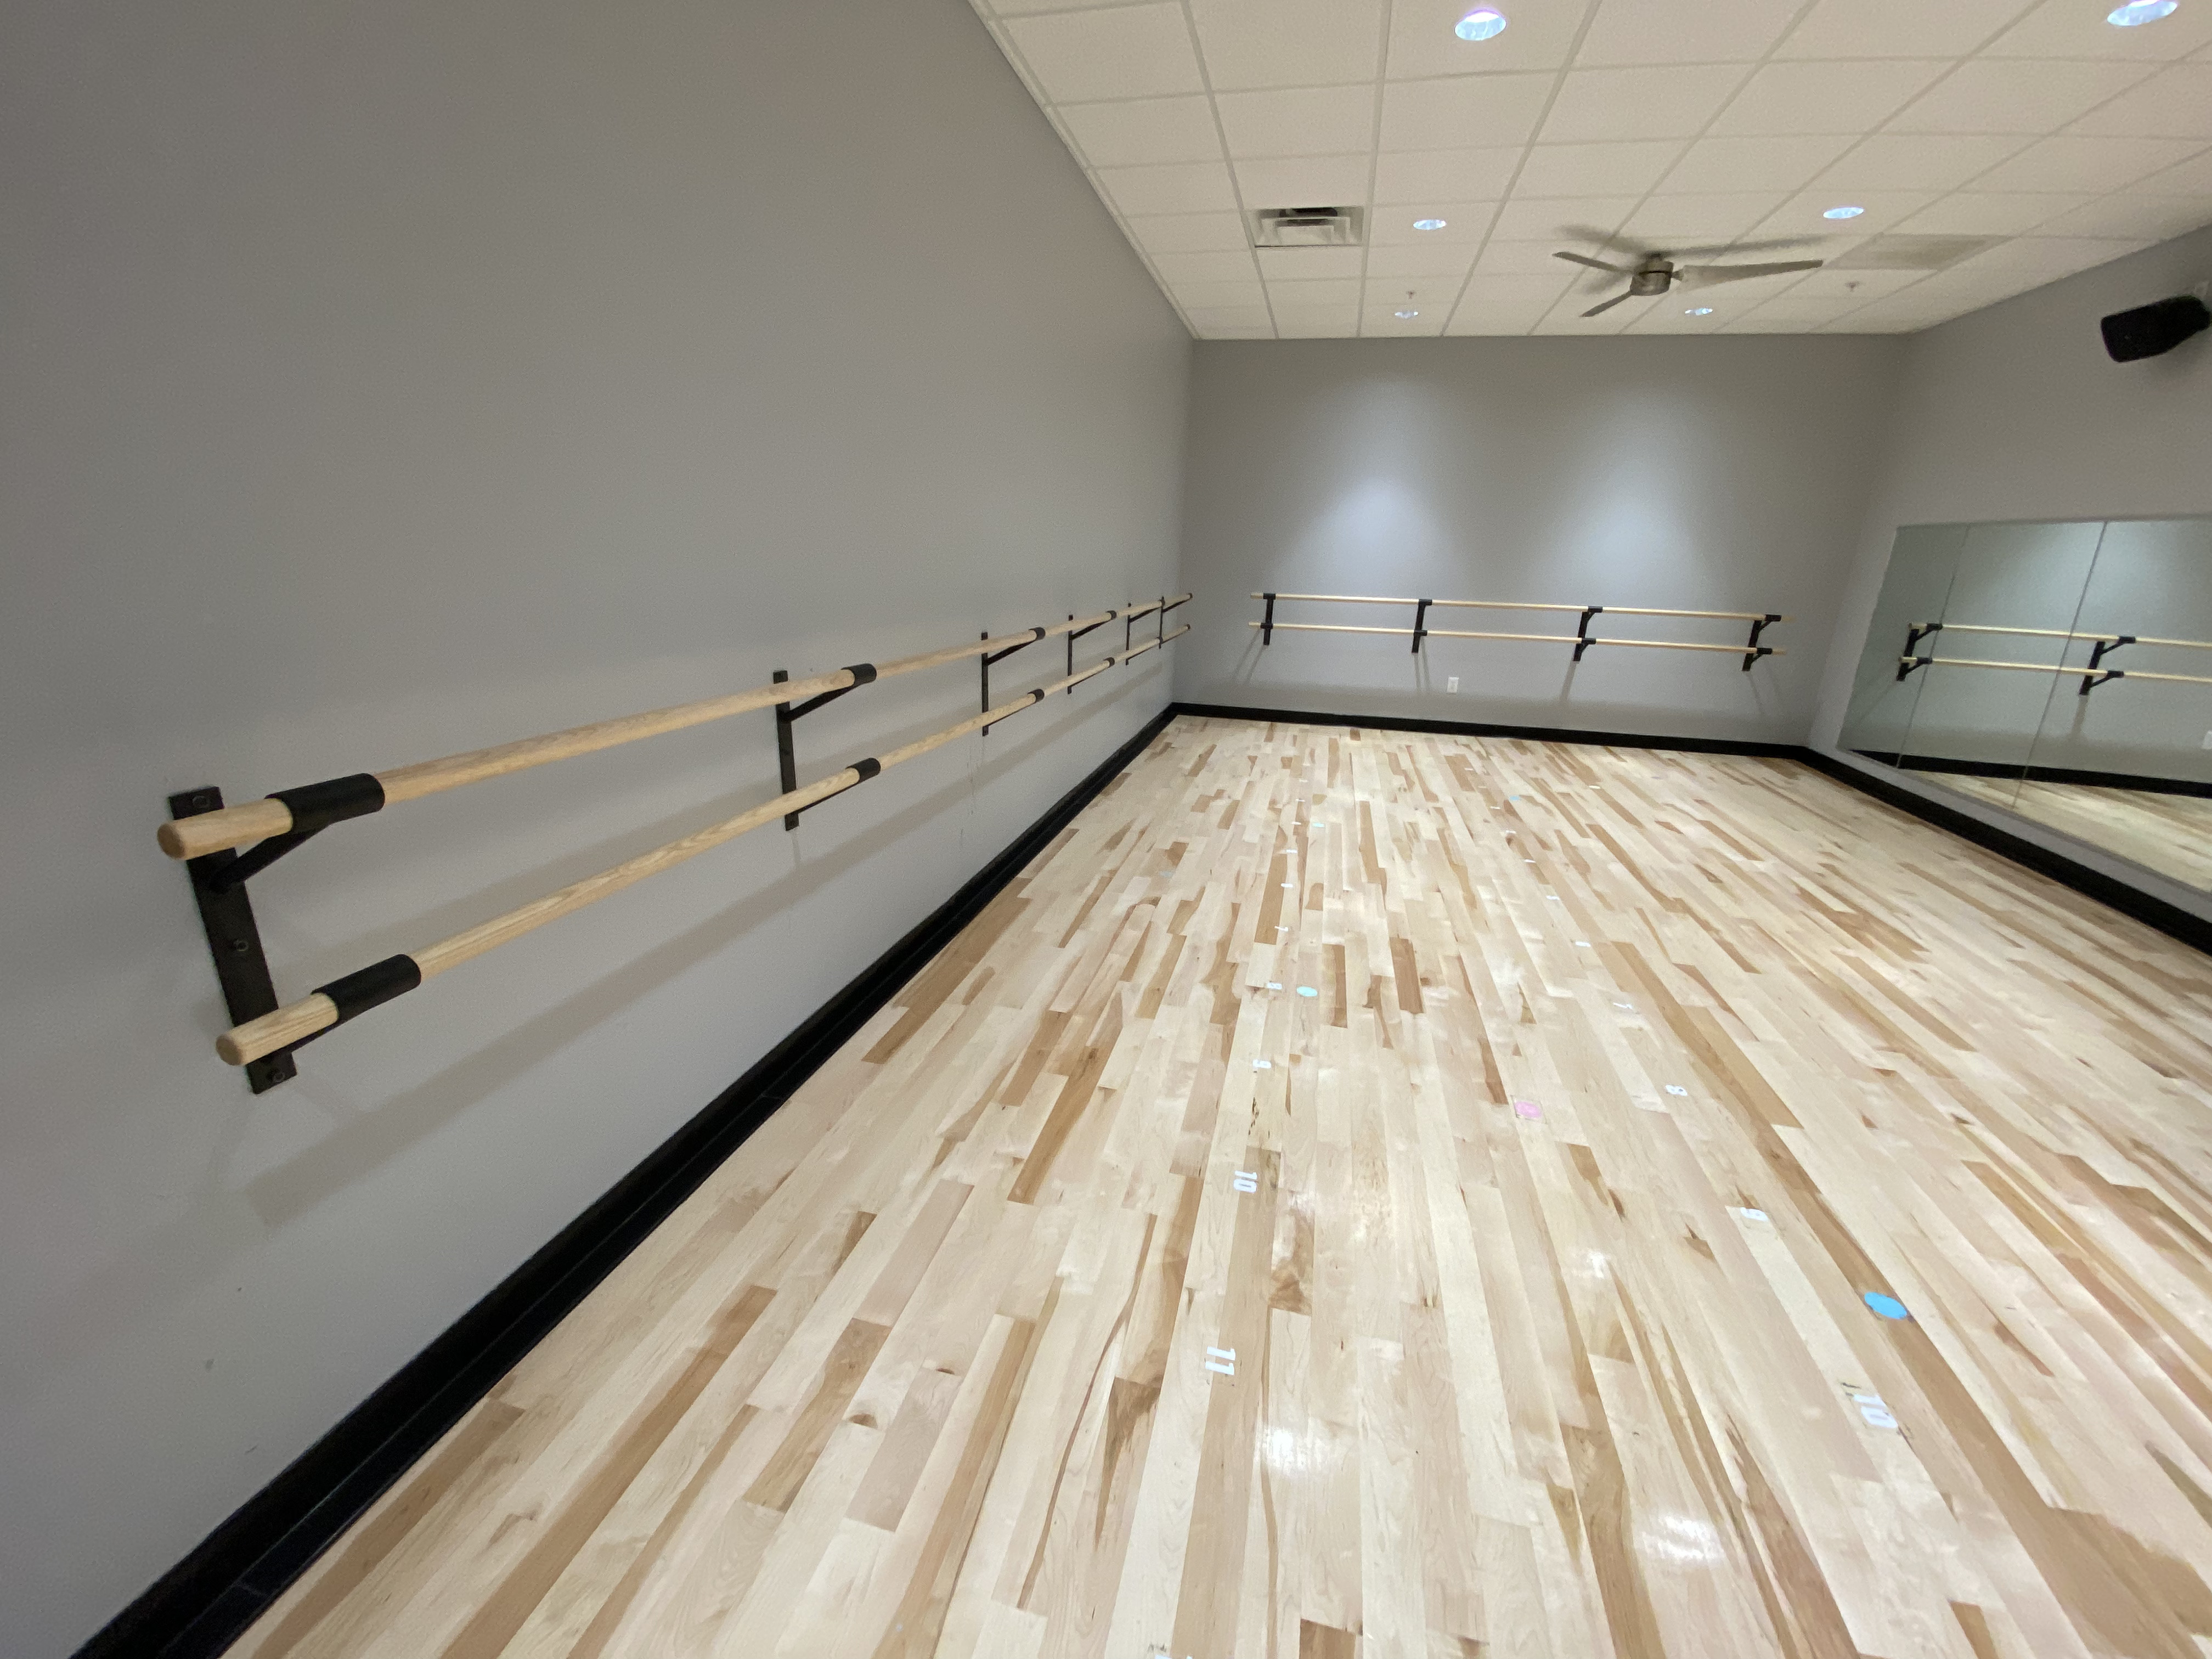
5. Brackets Too Far Apart
Widely spaced brackets create flex in the rail. Maximum recommended bracket spacing: 6 feet for wood barres, 8 feet for steel. End brackets should be no more than 12 inches from the end of the rail.
6. Loose Rail-to-Bracket Connection
If the set screw connection is loose, the rail creaks, shifts, or rolls under load. Tighten set screws firmly. Check these connections again 30 days after installation, as wood settles.
7. No Clearance Check
Before finalizing bracket placement, check what's directly behind the wall at that location: electrical, plumbing, ductwork. An electronic stud finder with AC wire detection helps. When in doubt, shift the bracket location and confirm with a non-contact voltage tester near the hole before drilling deeper.
The 10-Minute Pre-Installation Checklist
- ✅ All bracket locations confirmed over studs
- ✅ Height verified with actual user measurement
- ✅ Level line marked across all bracket locations
- ✅ No electrical/plumbing behind wall at drill points
- ✅ Pilot holes drilled before fasteners
- ✅ Rail-to-bracket connection tight before use
- ✅ Load test done (firm lean on each bracket location) before opening to students